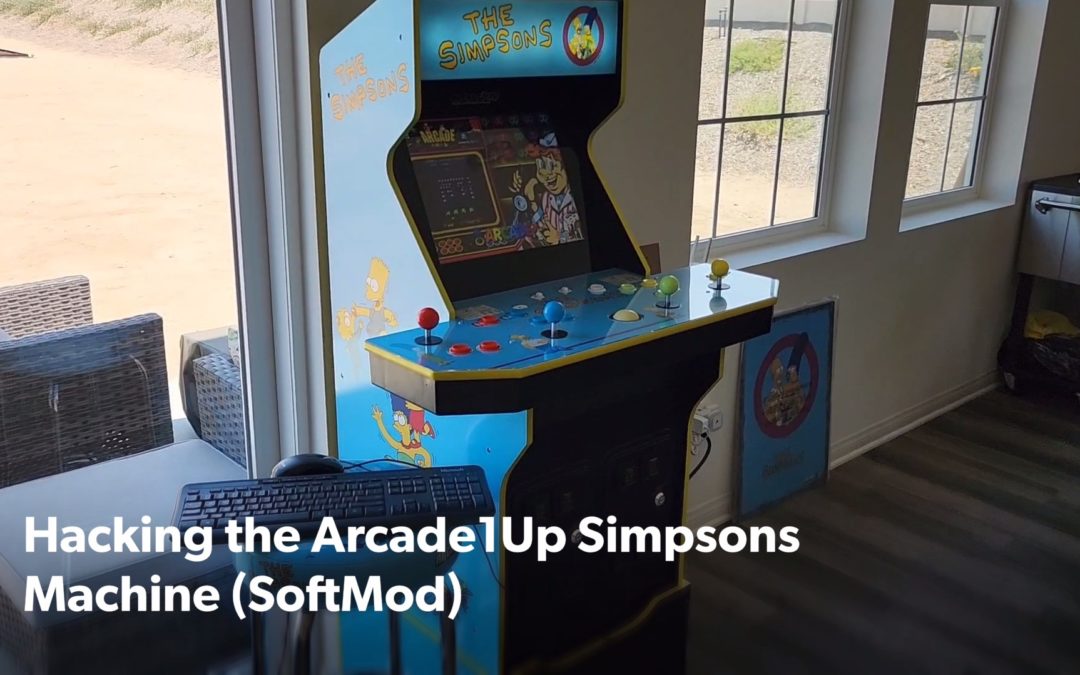
Hacking the Arcade1Up Overview
A quick guide to hacking the Arcade1Up Simpsons arcade machine using a softmod approach. This method will allow you to gain access to sideloading additional 3rd party Android apps on your arcade machine with just a micro SD card and keyboard. This approach will keep your machine 100% stock using the existing hardware and allows backwards compatibility to instantly switch back to the factory Arcade1Up Simpsons start up. In this use-case we sideload Retroarch + Dig Emulator Front-End in order to add 1,000s of more games to the arcade machine from several different game systems including MAME (arcade), Atari, NES, SNES, Sega Genesis, Dreamcast, Game Boy, Game Gear, N64, and much more!
Disclaimer and Warnings
This site is for educational purposes only. Proceed at your own risk. There’s a chance this softmod approach will void your Arcade1Up machine warranty and may prevent you from getting any future Arcade1Up software updates. There is also the possibility you could brick your machine if the original Android system files or Arcade1Up settings are altered beyond repair. Future Arcade1Up software updates could also lock down the system preventing your machine or this method from working.
Current Limitations
This approach worked on a 2022 Arcade1Up Simpsons arcade machine running Android 10 with a PCB that includes a USB and micro SD slot. Other specifications for this PCB include: model P71, ARMv7 CPU with 4 cores, 1GB Ram, 4GB SSD internal storage, and Wi-Fi. Some of the more resource intensive games may not be playable due to these limited hardware specs. This approach may work for other newer Arcade1Up machines but has only been tested on this particular machine. The easiest way to check if this method will work on your system is to plug in a USB keyboard and hold Windows key + L and verify the Android Calendar app pops up on the screen and you should be good.
When playing additional ROMS, you can only have 1 Player using the joystick and arcade buttons because the emulator treats the 4 joystick + button sets as 1 set. Multiplayer workarounds include plugging in a USB Hub and attaching additional wired usb or bluetooth game controllers. If you want to get all 4 player joysticks and buttons to work independently you can purchase 4 USB Encoders and wire the controls into them so they are detected as separate usb game controllers.
Internal Storage space is extremely limited on the machine (4GB total with less than 1GB free). It is highly recommend to keep all your ROMs on the micro SD card and point Retroarch there. Some 3rd party apps have issues with writing to external storage, but they shouldn’t have a problem reading from external storage.
Tools Needed
- Arcade1Up Simpsons machine (PCB should have a USB and Micro SD Card slot and running Android 10)
- Micro SD Card (preferably at least 128GB or 256GB depending on how many games you plan on adding)
- USB Keyboard
- Retroarch for Android (RetroArch_ra32.apk version)
- ROMS (google is your friend)
- USB Mouse (optional but will make Android menu navigation a lot easier)
- USB Hub (optional but needed to connect both a keyboard + mouse and any additional game controllers for multiplayer)
- USB microSD Card Reader (optional but will make life a lot easier when you copy over your APK files)
- Dig Emulator Front-End for Android apk (optional but allows a more customizable UI experience than just using Retroarch)
- Primitive FTPd apk (optional FTP Server that will make is easier to beam files over to your arcade machine)
- Windows Launcher apk (optional if you want to make it easier to launch additional apps on start up)
*Some of the links on this page are affiliate links. If you choose to purchase through those links you’ll be helping out this small time blogger in their quest to produce more rad content.
Step 1: Access the Android Notifications Exploit
With the arcade machine ON and the Simpsons game at the main screen, plug in your USB keyboard to the PCB USB slot (or USB hub + USB keyboard + USB mouse). Next hold the Windows key + N on your keyboard to launch the Android notifications screen and accept all permissions. When the notification screen pops up, expand the menu and click on the COG/gear icon to access Android Settings then click Storage.
If this doesn’t work, try holding the Windows key + L to bring up the Calendar app, accept all permissions, then trying again to open up with notifications screen with Windows key + N.
Step 2: Format the Micro SD Card for Android
Insert your micro SD card into the PCB micro SD slot and access Storage settings (Windows key + N -> Settings -> Storage). Click the micro SD card and format the drive (the Portable format option is more convenient so other devices can still read the card).
Step 3: Copy Retroarch APK to SD Card
Safely eject the micro SD card from the arcade machine then insert the card into another computer so you can copy over your downloaded RetroArch_ra32.apk file (you can copy it to the Download folder). Safely eject the card and re-insert into your arcade machine.
Step 4: Install and Configure Retroarch APK
Navigate to your external drive and double click the RetroArch_ra32.apk to install the application accepting all permissions. After the application installs, navigate to the Apps section to launch Retroarch and begin configuring.
If you get any permission errors, you may need to enable Android Developer Tools. You can do this by navigating to the search box to search for the About section, then click the Build Number section 5 times. You’ll then see the Developer Tools now available.
Step 5: Load ROMS and Download Retroarch Cores
There are tons of tutorials out there on where to find ROMS and how to load them into Retroarch with the proper Cores. It is highly recommended to keep your ROMS on the external SD card and have Retroarch load them from the external card since space is extremely limited on the internal storage. Loading in boxart and thumbnails for thousands of ROMS will also eat up a lot of space so change the thumbnails save directory to the external card.
Step 6: Install and Configure Optional Apps
Use the same approach above to copy and install additional APKs on your arcade machine.
- Install and configure Dig Emulator Front-End for Android for a more customizable UI experience rather just using Retroarch. There’s also a setting to make Dig your default app to launch on start up.
- Install and configure Primitive FTPd so you can transfer files wirelessly via FTP rather than popping out the SD card each time you want to add more roms, configs, apps.
- Install Windows Launcher if you want to make it easier to launch additional apps on start up.
Step 7: Revert to Factory Arcade1Up Simpsons Start Up
Navigate to the Apps section and open the Arcade1Up app. Done. The Simpsons game should start loading and a pop up will ask if you’d like to set Arcade1Up to be the default startup app.
Was this SoftMod Guide helpful to you? Have questions on configuration? Head over to our YouTube channel for answers or to discuss your recommendations and be sure to Subscribe to get alerted with the latest updates!
Looking to get all 4 player joysticks/buttons working for 1,000s of multiplayer arcade and console games? Check out our next guide on replacing the control panel and adding more buttons!